I realize that all blog land needs is another pillowcase dress tutorial. That is why mine is labeled #5,000. There must be that many out there. I think it is such a cute dress and is so easy to make. It is also my reference pattern. You see I have some cute alterations/adjustments I have been working on and need to have a starting place for these future posts.
Lets get started with some supplies:
1 to 1-1/2 yards of fabric depending onthe length of the dress
Bias tape either single-fold or double fold
thread to match.
1. Cutting - Decide on the finished length of your dress then add 2 and 1/2 inches. This allows for the casing and the hem. Fold fabric in half with selvedge edges matched up. Measure in 3 inches fromthe sides of the fabric and 6 inches down.
* I like to use the full width of the fabric. It makes the dress a little fuller and looks better.
*If you are making a size up to a 4. I like to only cut down 5 inches. It makes the arm hole a little smaller and less skin is showing at the sides.
Cut 2 pieces the same size. This is what your cut front and back pieces should look like.
1. For pocket pattern I just folded a piece of paper in half and made a half pocket shape and then cut it out, and trimmed it until I liked it. You can use a pattern piece from another pattern. Or skip this step all together.
3. Zig Zag edges of pocket. Fold in edges of pocket and iron in place. I decided to add a little ric-rac to mine.
4. Measure trim and stitch in place across the top of the pocket. Lay front of dress out flat and pin pockets in place.

4. Pin pocket to front of dress and stitch in place.
5. Stitch front to back at side seams. ( I don't seem to have a picture of this for some reason, sorry)).
6. Measure bias tape and cut to fit arm holes. Open up edge of bias tape and sew it to edge of fabric. This will hide the raw edge. I have found you can do this step with single-fold or double-fold bias tape. I happened to have this single-fold on hand and used it.
7. Iron arm facing to the inside.

5. Fold over and stitch arm facing in place, sewing close to edge.

8.
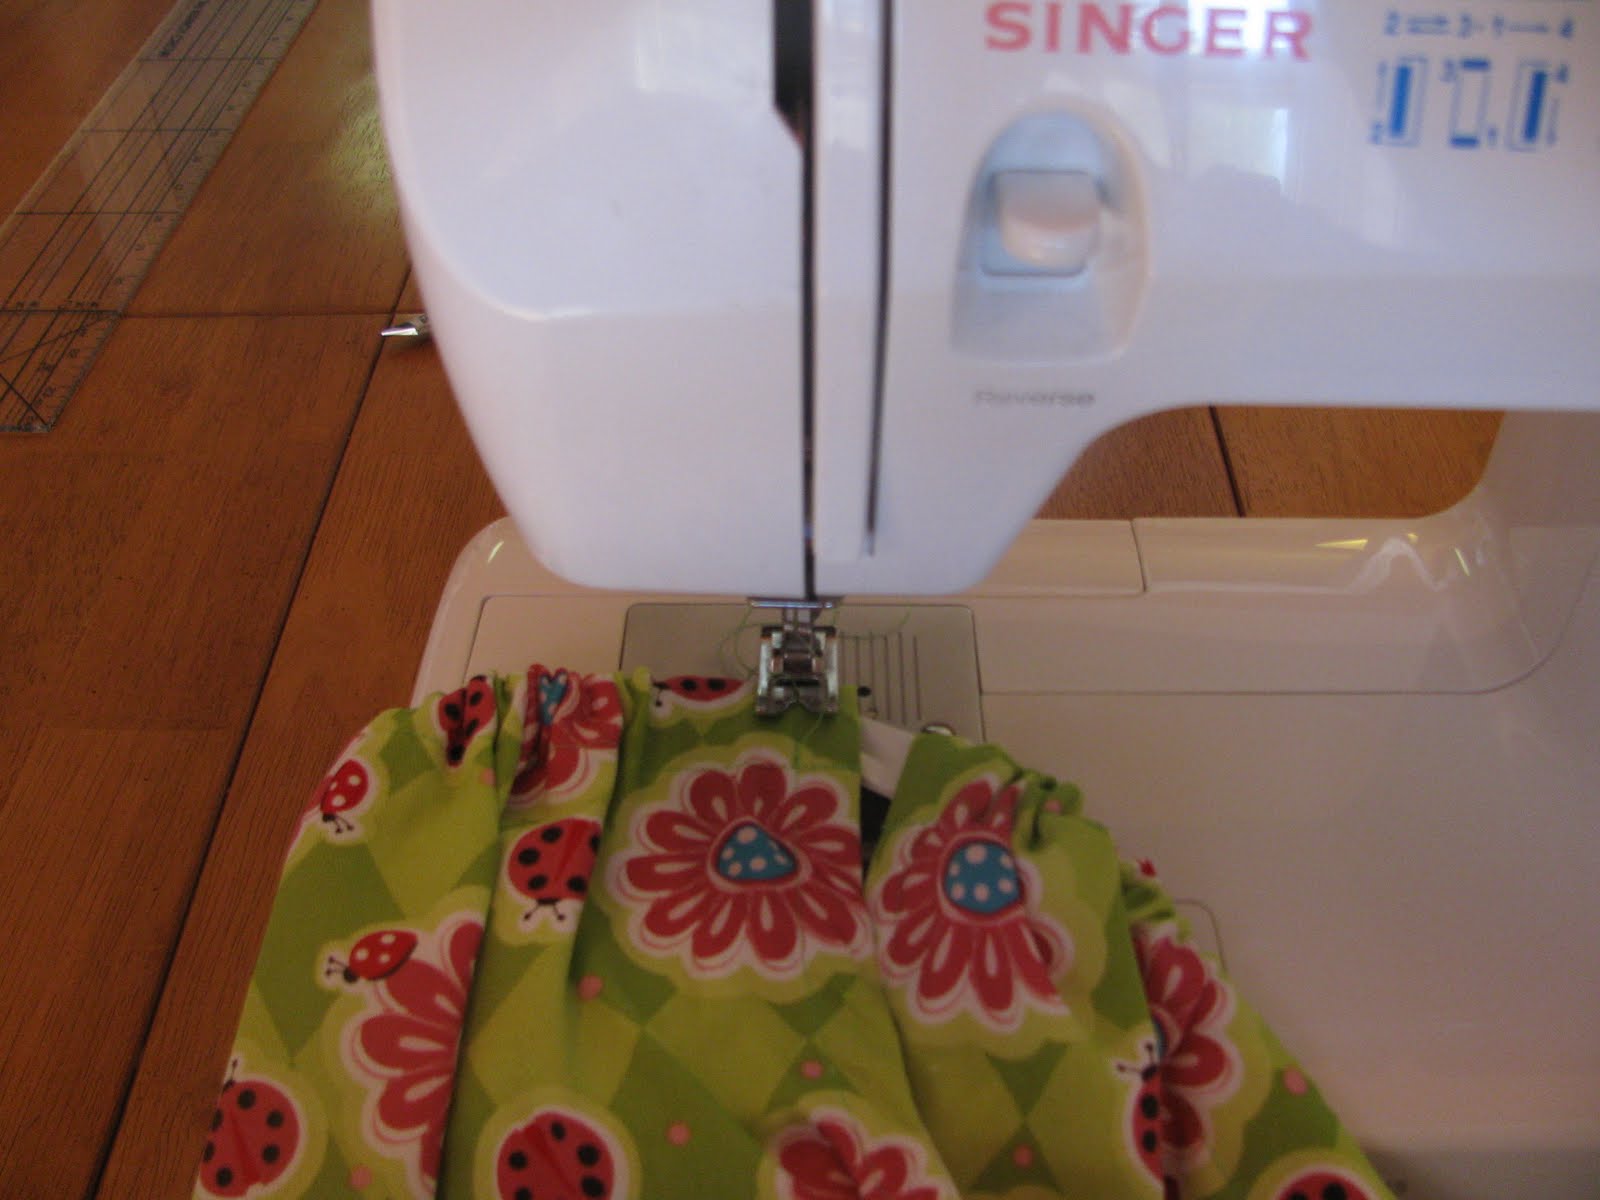
Casing - Fold over 1 1/4 inches and iron at the top of the dress to form the casing. Fold over 1/4 inch and iron raw edge ito the inside of the casing. Stitch in place on front and back.
7. Cut ribbon and thread through casing using a safety pin.
9. After threading ribbon through casing, adjust gathers and position front and back of dress. Stitch down casing to secure the ribbon at opposite side of the tie. I find this helps hold the dress in place and keeps it together.
Almost done, just the hem left. (I don't know what to do when I get a picture in the wrong place. I am a blogger and can't quite figure it out).

9. Hem - Measure for the proper length. Trim if needed. Zig Zag the bottom edge of the dress. Fold up a 1 - 1 1/2 inch hem and iron in place. Pin in hem and sew in place.
You are done. Now you have a super cute and comfy dress a little girl will love.
 I made this birthday banner last year from a tutorial over at polkadotchair.com . I cut the triangles with pinking sheers out of my fabrics then drew out lettering and used wonder under to iron them on. Then I sewed it to this big ric rac that I had in my stash. It was a pretty quick project and I think it turned out great. I put it away with the birthday decorations. I got it back out and thought, oh my goodness, this needs improved upon. I do not like to redo projects that I have made, and normally do not. I decided to make an exception to this project. I am on an applique kick right now. I decided to use an applique stitch and stitch around the letters. It took a bit of time but it was worth it.
 You can see from this image that the letters just did not stand out and couldn't be read from very far away.
 See the difference the black stitching makes.
 I am so happy with the end product. I think the black around the lettering just makes it pop. It will be used for many birthdays to come. ( I should have ironed it before I took the picture).