Wednesday, April 27, 2011

Pillowcase Dress Tutorial #5,000


I realize that all blog land needs is another pillowcase dress tutorial. That is why mine is labeled #5,000. There must be that many out there. I think it is such a cute dress and is so easy to make. It is also my reference pattern. You see I have some cute alterations/adjustments I have been working on and need to have a starting place for these future posts.

Lets get started with some supplies:
1 to 1-1/2 yards of fabric depending onthe length of the dress
Bias tape either single-fold or double fold
thread to match.


1. Cutting - Decide on the finished length of your dress then add 2 and 1/2 inches. This allows for the casing and the hem. Fold fabric in half with selvedge edges matched up. Measure in 3 inches fromthe sides of the fabric and 6 inches down.


* I like to use the full width of the fabric. It makes the dress a little fuller and looks better.


*If you are making a size up to a 4. I like to only cut down 5 inches. It makes the arm hole a little smaller and less skin is showing at the sides.


Cut 2 pieces the same size. This is what your cut front and back pieces should look like.


1. For pocket pattern I just folded a piece of paper in half and made a half pocket shape and then cut it out, and trimmed it until I liked it. You can use a pattern piece from another pattern. Or skip this step all together.


3. Zig Zag edges of pocket. Fold in edges of pocket and iron in place. I decided to add a little ric-rac to mine.


4. Measure trim and stitch in place across the top of the pocket. Lay front of dress out flat and pin pockets in place.


4. Pin pocket to front of dress and stitch in place.


5. Stitch front to back at side seams. ( I don't seem to have a picture of this for some reason, sorry)).


6. Measure bias tape and cut to fit arm holes. Open up edge of bias tape and sew it to edge of fabric. This will hide the raw edge. I have found you can do this step with single-fold or double-fold bias tape. I happened to have this single-fold on hand and used it.


7. Iron arm facing to the inside.


5. Fold over and stitch arm facing in place, sewing close to edge.


8. Casing - Fold over 1 1/4 inches and iron at the top of the dress to form the casing. Fold over 1/4 inch and iron raw edge ito the inside of the casing. Stitch in place on front and back.


7. Cut ribbon and thread through casing using a safety pin.
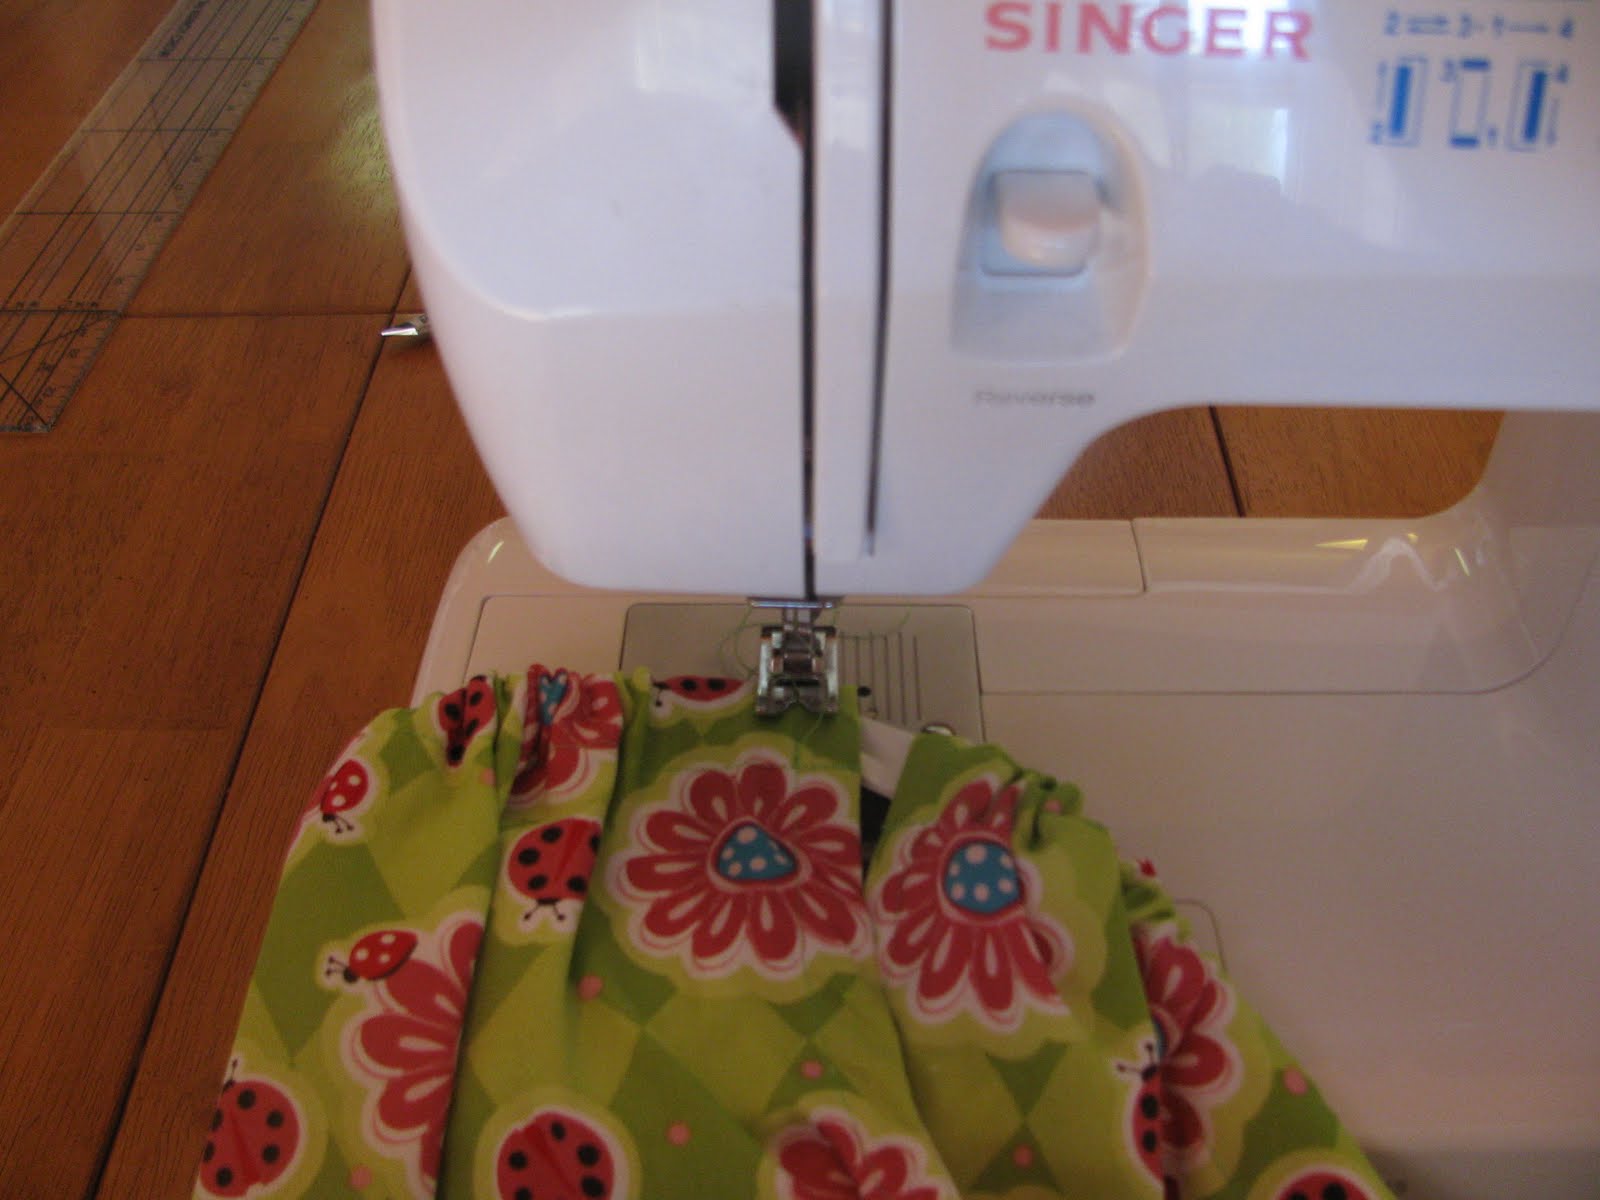


9. After threading ribbon through casing, adjust gathers and position front and back of dress. Stitch down casing to secure the ribbon at opposite side of the tie. I find this helps hold the dress in place and keeps it together.


Almost done, just the hem left. (I don't know what to do when I get a picture in the wrong place. I am a blogger and can't quite figure it out).


9. Hem - Measure for the proper length. Trim if needed. Zig Zag the bottom edge of the dress. Fold up a 1 - 1 1/2 inch hem and iron in place. Pin in hem and sew in place.


You are done. Now you have a super cute and comfy dress a little girl will love.


Tuesday, March 29, 2011

Spring Wreath

I am tired of winter and cold, so ready for Spring. Last week I decided I needed a new wreath over my mantle. I had one I'd found on clearance from PB and put it away so I could put up Christmas decorations back in Dec. and cannot find it anywhere. My window frame has been sitting bare since then. A quick trip to Hobby Lobby and some hot glue turned out this. I wired 2 twig wreath together to give it some bulk Arranged the flowers first to make sure I liked the arrangement Hot glued everything in place.


I am going to try to link up to a few parties. I 've never done this before but hopefully I can figure it out.

Toddler Sun Top

I have been sewing a few things for my girls for spring and summer. Spring showed up a few weeks ago with some beautiful weather and then disappeared. We are back to cold here in KY and it was 40 degrees out when I snapped this picture of the Cakers. This top is made out of a womens t-shirt and takes less than an hour to make. It can be embellished any way you'd like. (I will be posting an applique tutorial and flower tutorial later on this week).


Here is what you need:

T-shirt any size will work, the fullness of the shirt will change a little

thread

1 inch elastic

cutting mat

rotary cutter

pins

safety pin


1. First lay out your t-shirt flat on your cutting mat, make sure seams and edges are even.


2. To make the body of the shirt, cut off area below the sleeves. The length of the shirt depends on how long this piece is. So you want to cut it as close to under the sleeves as possible for the most length. Then cut off sleeves, leaving the neck and chest area for straps.

3. To make the straps cut off neck and shoulder area of t-shirt.


4. To make straps, fold fabric piece in half matching the longer edges togeter. Sew along one bottom end and along long side. Turn right side out and iron. Ironing will give it a nice edge. I used a straigt stitch rather than a zig-zag on the straps. I amde another one using a zig-zag and it stretched out the knit fabric and it didn't look as nice.


5. To make a casing for the elasic fold over the top of your fabric 1 1/2 inches and pin in place. Sew along bottom edge , leaving a small opening for the elastic to go through.


6. Measure your model just under the armpits to get your elastic length. With a safety pin, push elastic through the casing.


7. Sew in the ends of the elastic togeter and sew up casing.


8. Lay top out flat and pin straps equal distance in from the sides of the top. At this point I carefully tried the top on my 2 year old to see how long the straps needed to be. I pinned it in back as well. Sew the straps along the fold lines through all layers including the elastic.


9. Pin Straps in back and stitch in place. I stitched up and down along the gathered folds. You can also not cross the straps in back and just pin them straight and stitch.


This is the finished project. I will post a tutorial on how to applique and make the fabric flower later this week. Totally easy to do, if your sewing machine can do a zig-zag stitch. Embellish however you like.


Sunday, February 20, 2011

Look at my cute blog. It is finally up and running. It tok a trip to my sister's house and her wicked computer skills to get me up and running. Thanks Kari. It is so stinking cute. I just need a project now to post.
This is my cute niece. she can be found here

Sunday, January 16, 2011

Making Progress

I have a background a header that I downloaded myself and am color coordinated. I am making progress. Yeah for me...

Saturday, January 8, 2011

Oh Sad Little Blog

Oh I am a sad little blog won't someone come aong and help my owner figure out what she is doing? She has so many great ideas and tutorials in the works but she just can't seem to figure it all out... ha ha ha . I am working on it. My goal for next week is to get a post and a tutorial on here and try to like up to a party. My goal for 2011 is to get this blog well under way and not be so computer illiterate. tat ta for now.